


Who doesn’t love pickles? They’re good alone, in a recipe, or as a side to something as simple and delicious as a grilled cheese sandwich. A trip to the grocery store will present one with a multitude of choices to pick from. However, all pickles are not created equal. The many choices that line the grocery store shelves all suffer from the fact that they are nothing more than mass-produced garbage. If you want a decent pickle, you’ll either have to make it yourself, or find someone to do it for you. By decent I am of course referring to fermented. Pickles made in this fashion taste better and are better for you than those made by traditional pickling. Think probiotics. Also, fermentation results in greater bio-availability of the vitamins and minerals that are contained in cucumbers. Fortunately, making them yourself is extremely simple. Following is the process I use, which has yielded great results.

To start with, you need fresh cucumbers and dill. These were just picked from my garden. The only preparation they need is to have the dirt rinsed off of them using cold water. No further cleaning is warranted because we need the beneficial Lactobacillus bacteria that is present on the cucumbers. This bacteria lives and thrives in the soil of properly cared for gardens. It is what causes the fermentation process to take place. By properly cared for I mean gardens that are not treated with artificial fertilizers, pesticides, or herbicides.
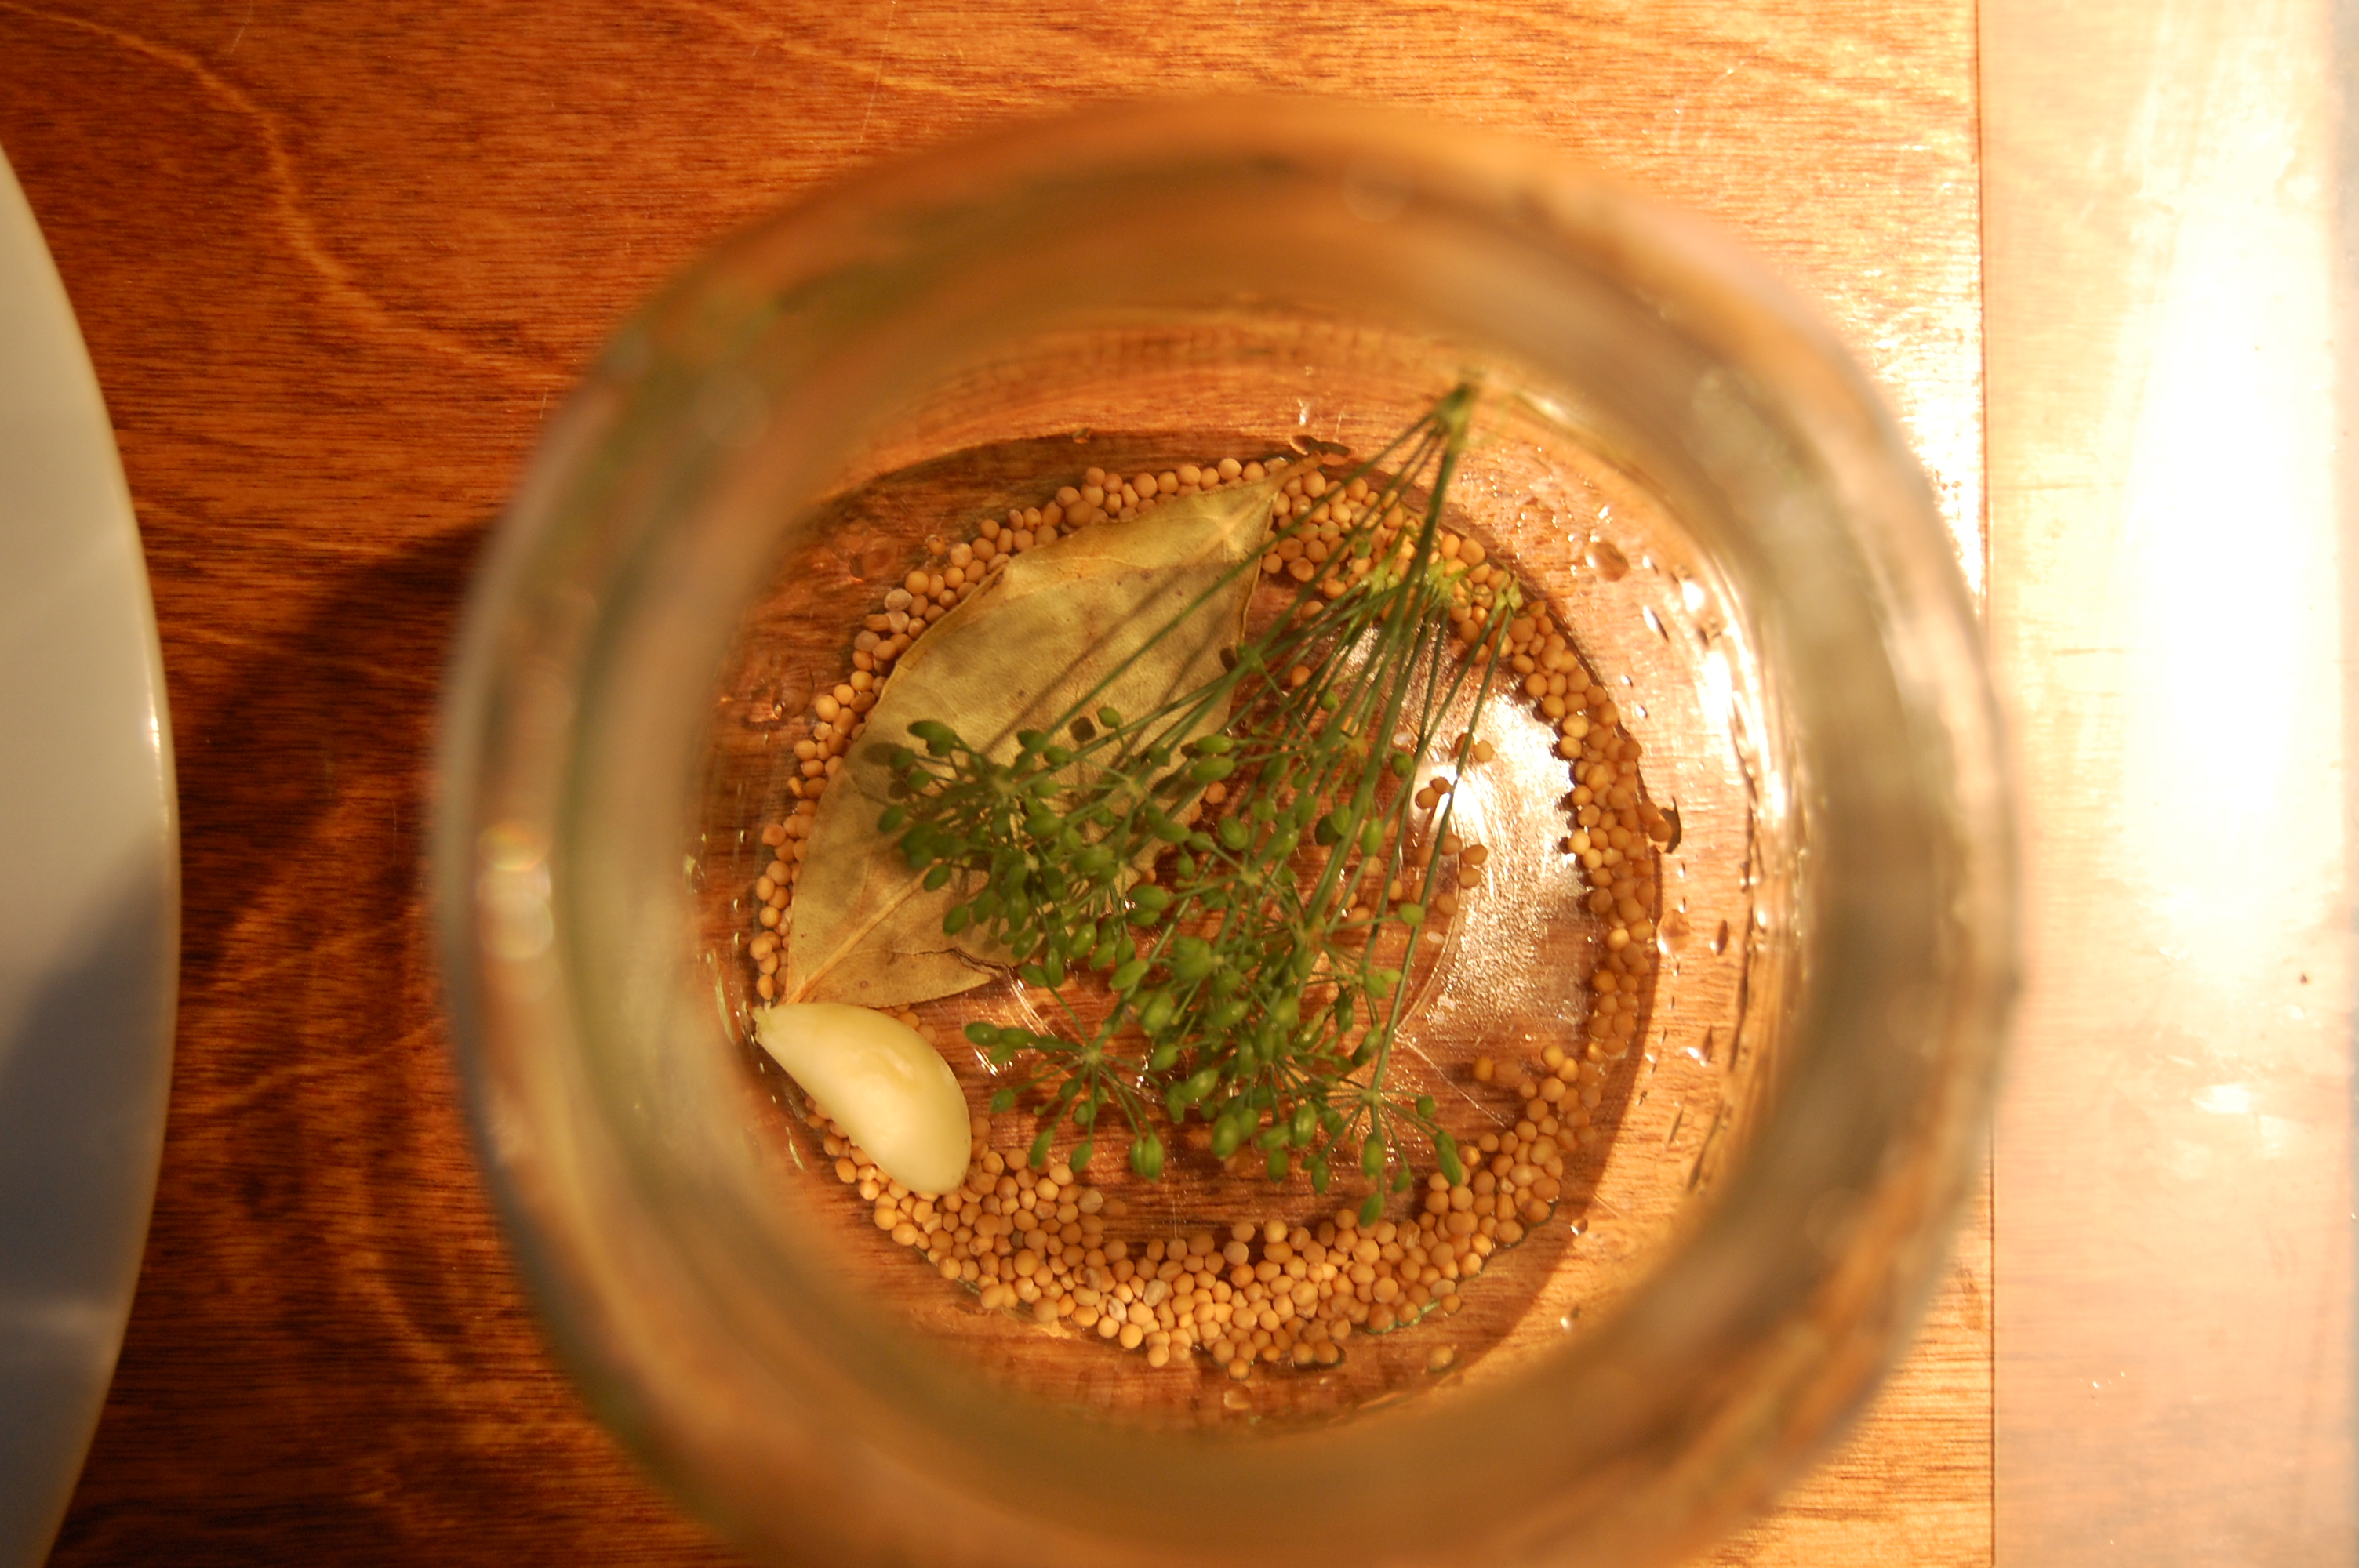 Small-mouthed canning jars are essential. Wide-mouthed ones will work too, but the narrow top on the others helps to keep the cucumbers from floating up and out of the brine. To prepare the jars simply wash them out with hot soapy water and rinse. There is no need to sterilize them. Once they are clean, place into each one a teaspoon of mustard seed, a couple of bay leaves (oak leaves work also), some sprigs of fresh dill, and a clove of garlic. This is just for your basic dill variety. If you want to spice things up, just add a chili pepper or two.
The addition of bay leaves is so that the cucumbers retain a certain amount of crispness. Without the leaves they will become rather mushy.
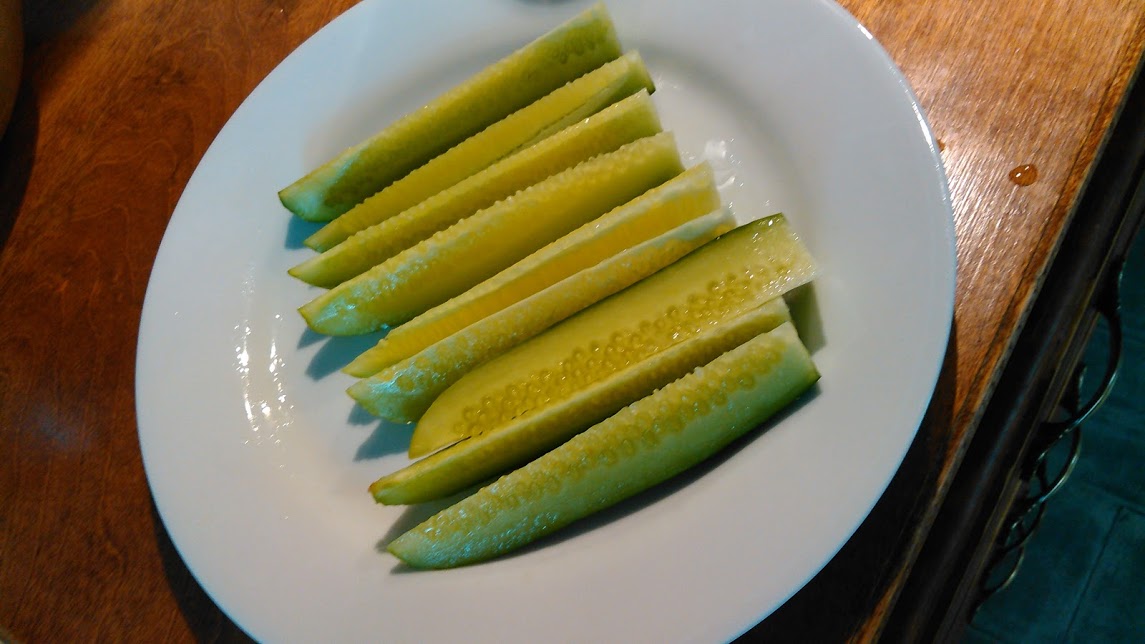 Sliced and ready to go.
 Next, add cucumber spears to the jar until they are tightly packed. Be sure to leave enough room on the top, so that the brine will cover the cucumbers to a depth of about 1/2″ as shown in the image below.
 The brine used here is a simple 20:1 ratio of water to salt by weight.
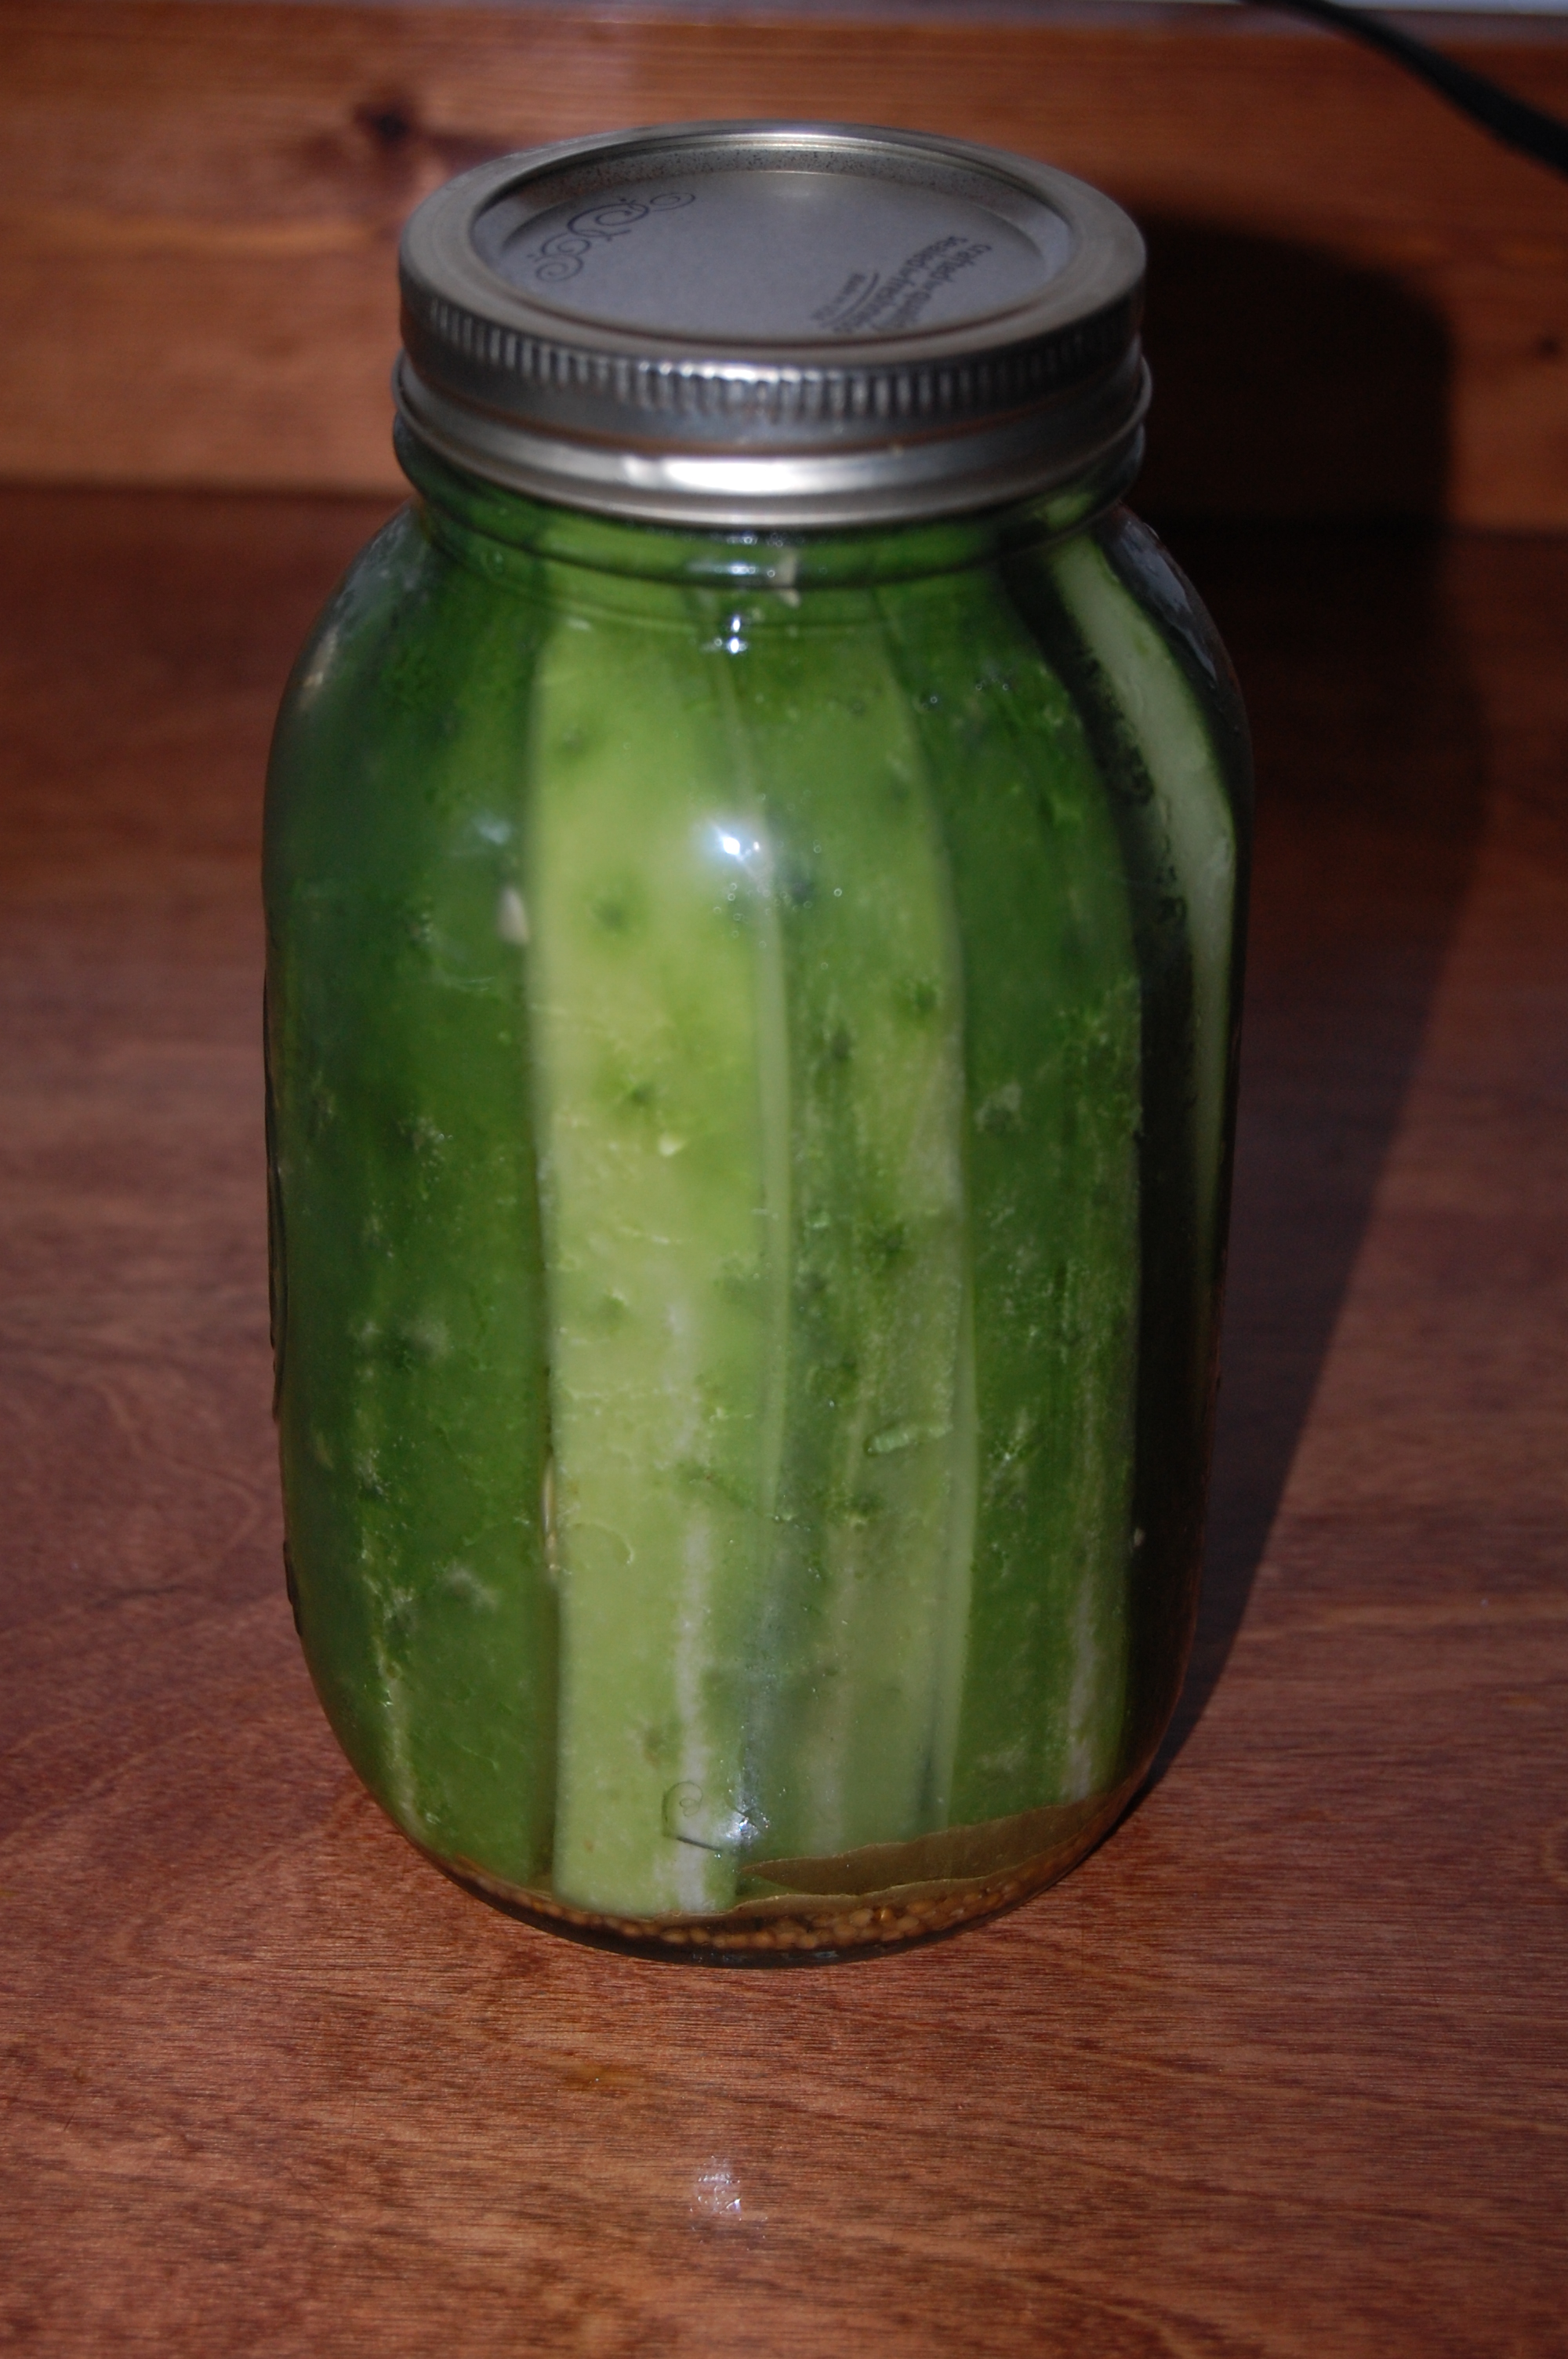 The lid is then placed on and secured with a ring. It should be tightened enough so that no gases escape.
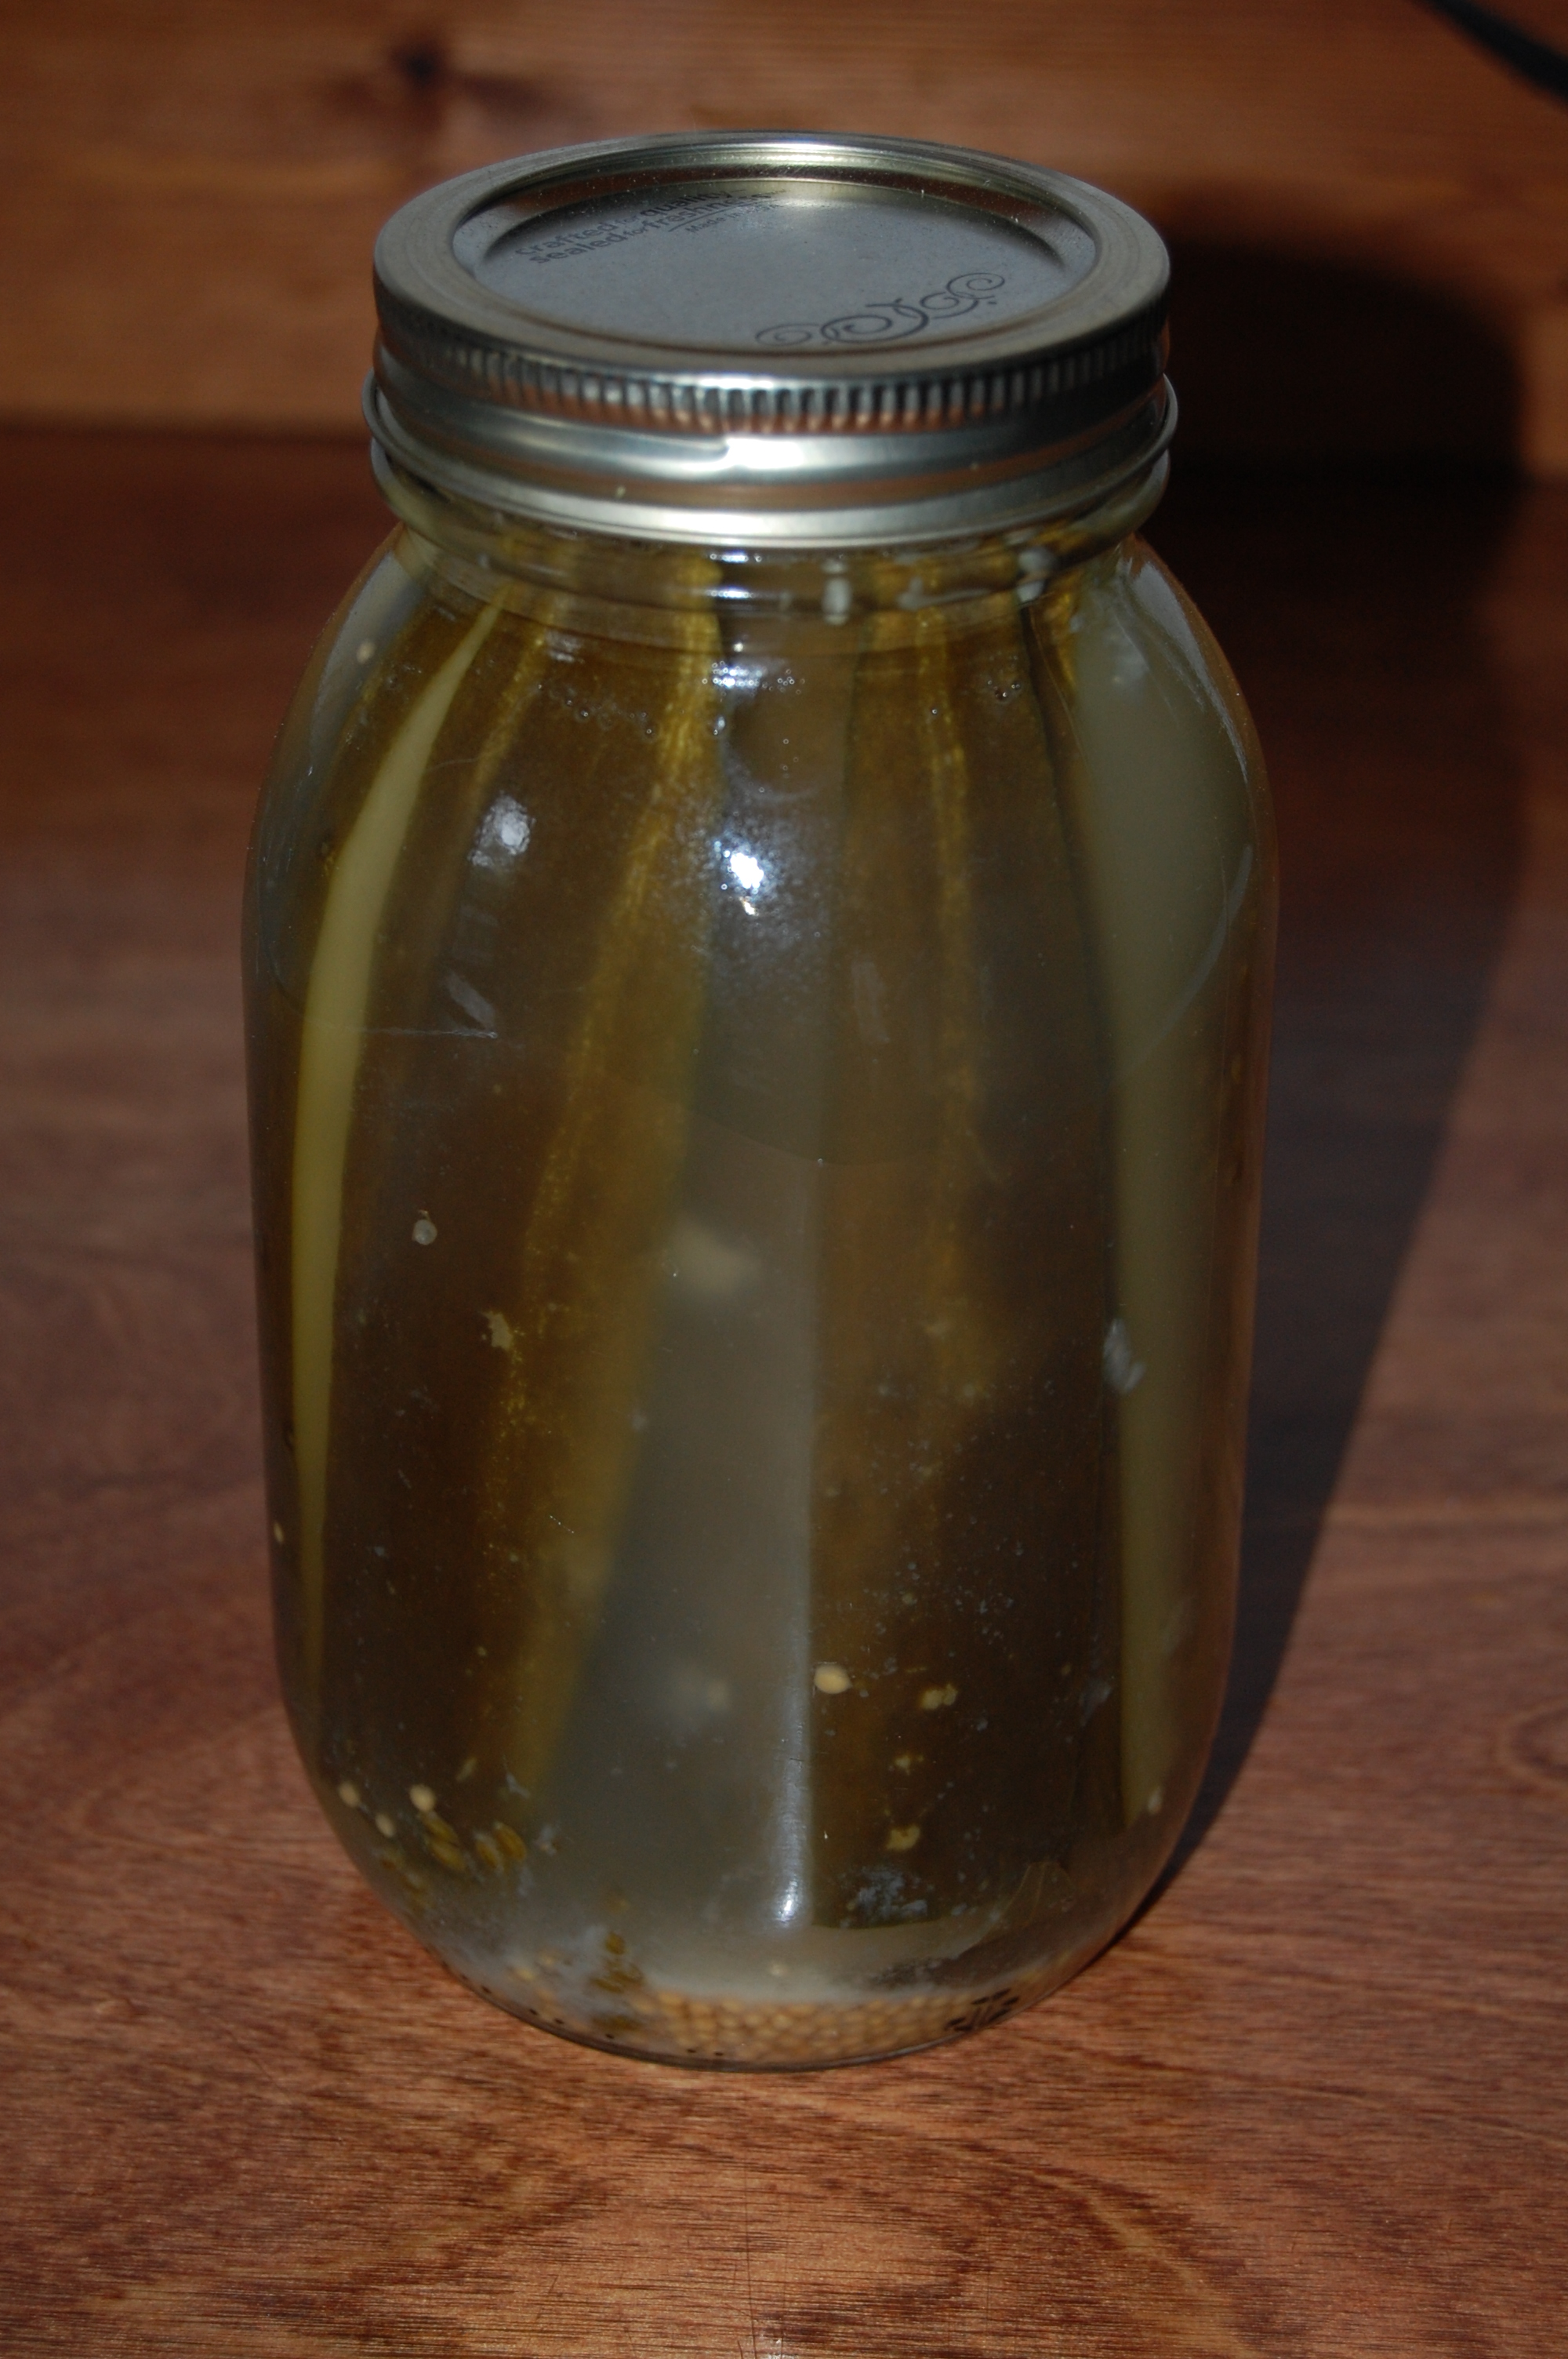 After a couple days the brine will start to cloud up. This indicates that the fermentation process has begun. Pressure will build up in the jar, so periodically the ring should be loosened slightly to allow the gases to escape. This must be done slowly otherwise you will end up with brine all over the place.
 This is what the cucumbers will look like after a week or so. The cooler the temperature, the longer the fermentation process will take. These are now ready to eat. Once opened they need to be refrigerated to prevent spoilage.
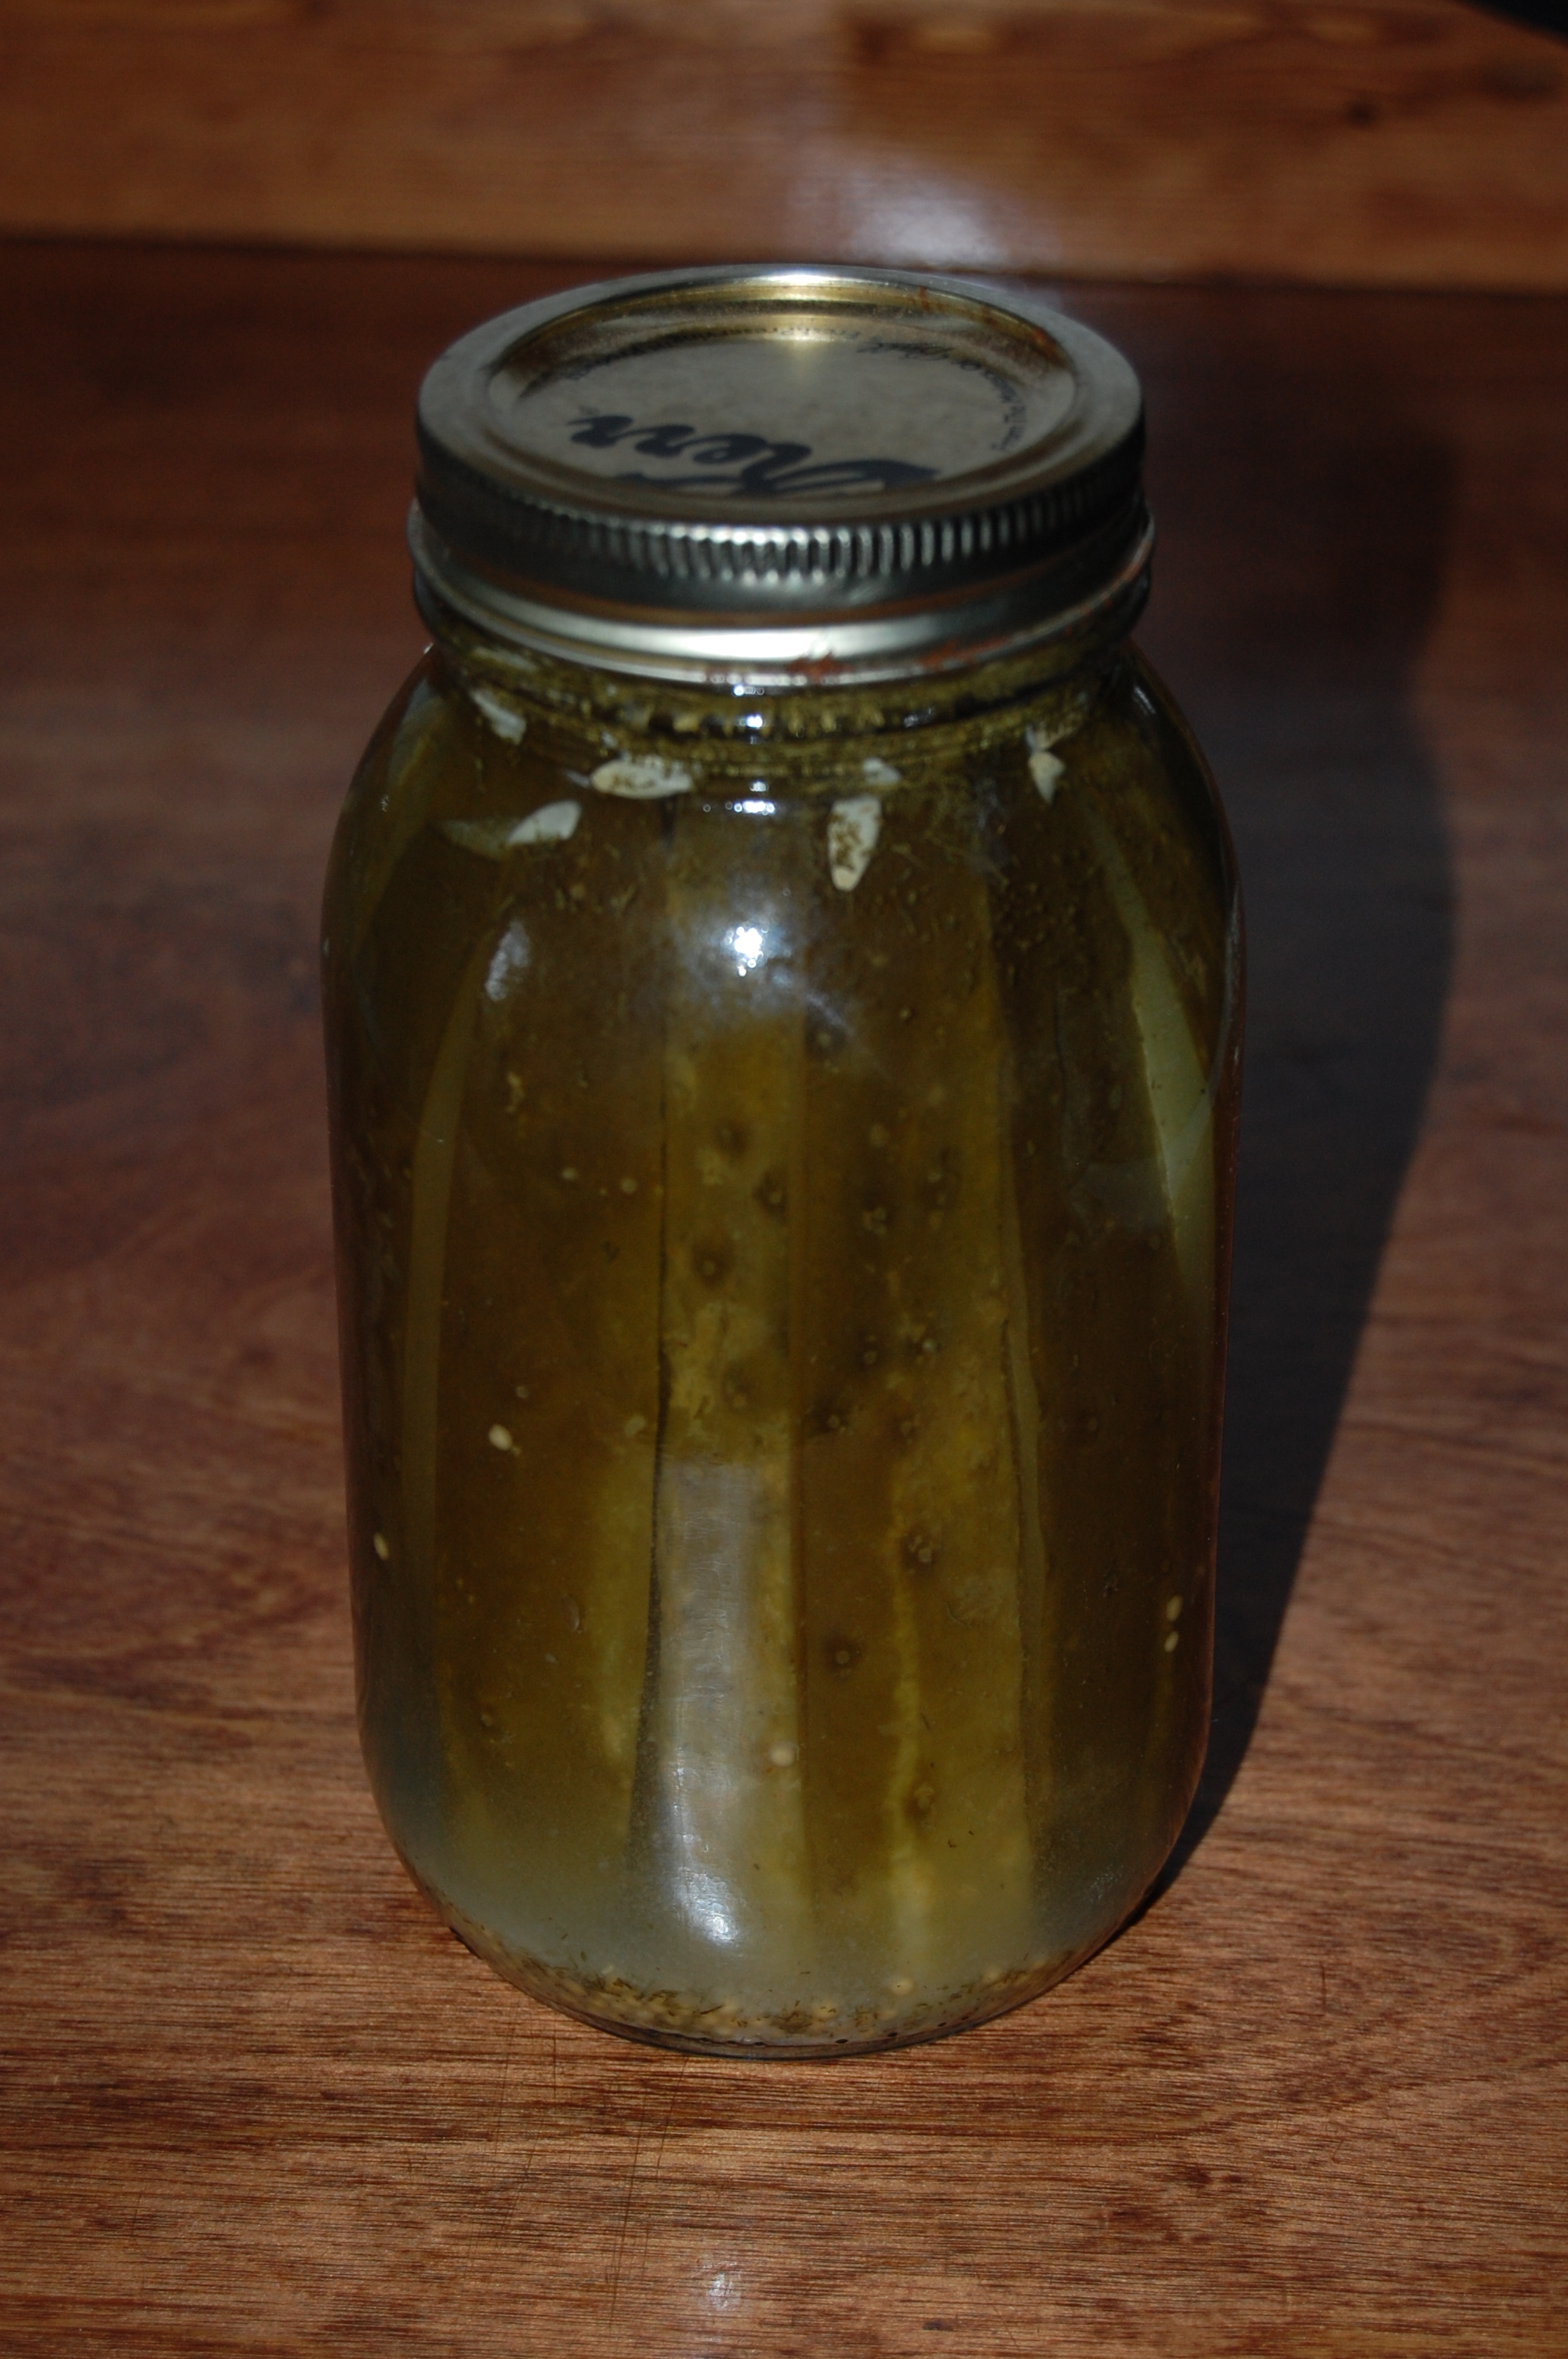 The environment created by the bacteria is hostile to almost any other bacteria. This allows fermented foods to maintain a long shelf life provided they are kept in a cool, dark area. The quart of pickles in the above picture were made in the late summer of 2014 and still look as good as they did right after active fermentation had ended.
That’s all there is to it. This same process can be used for other vegetables as well. I’ve used it successfully with carrots and let me say that fermented carrots really snap up ordinary coleslaw.
Alright, I think it’s time for grilled cheese.
Happy fermenting!